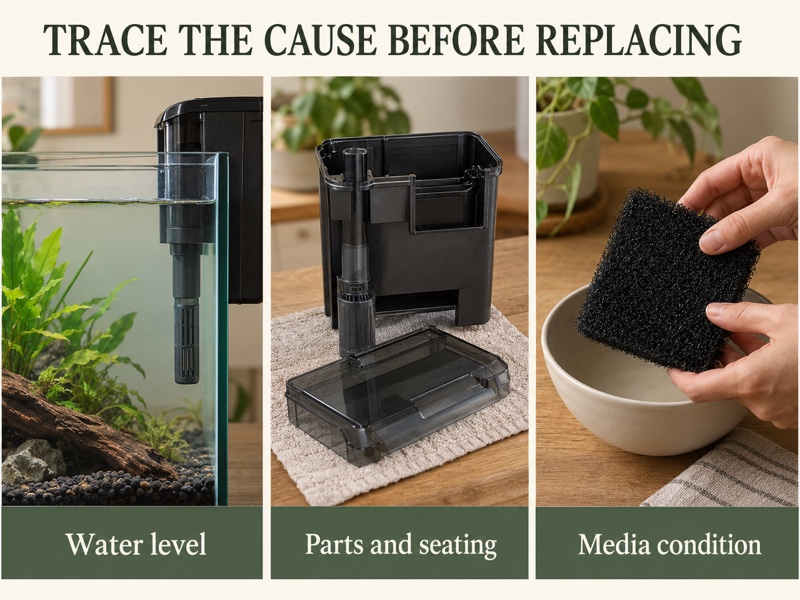
AI-created generic aquarium scene; not a C4 product photograph or an installation drawing.
The Fluval C4 is a hang-on-back power filter to assess by rim fit, water level and access to its separate media sections. The selected complete filter, ASIN B003SJXTIU, is advertised for aquariums up to 70 US gallons. That rating does not tell you whether it fits your lid or provides suitable flow for your particular occupants.
Before ordering, measure behind the tank and check how you will remove the media. Existing owners can use the same sequence to investigate splashing, noise or reduced flow: establish the water level, inspect the assembly and maintain the appropriate component. Replacing every part at once can make the cause harder to identify.
Fluval C4 identity and specifications to verify
The official US C4 product page identifies item 14003 and UPC 015561140034. The selected Amazon listing reports model 14003A1. Keep both references with your order details and confirm the supplied unit; this is the complete C4 filter, not a replacement pad, internal U4 filter or external canister.
| Check | Source information | Decision limit |
|---|---|---|
| Type | C Series clip-on power filter | Requires compatible rim, lid and rear space |
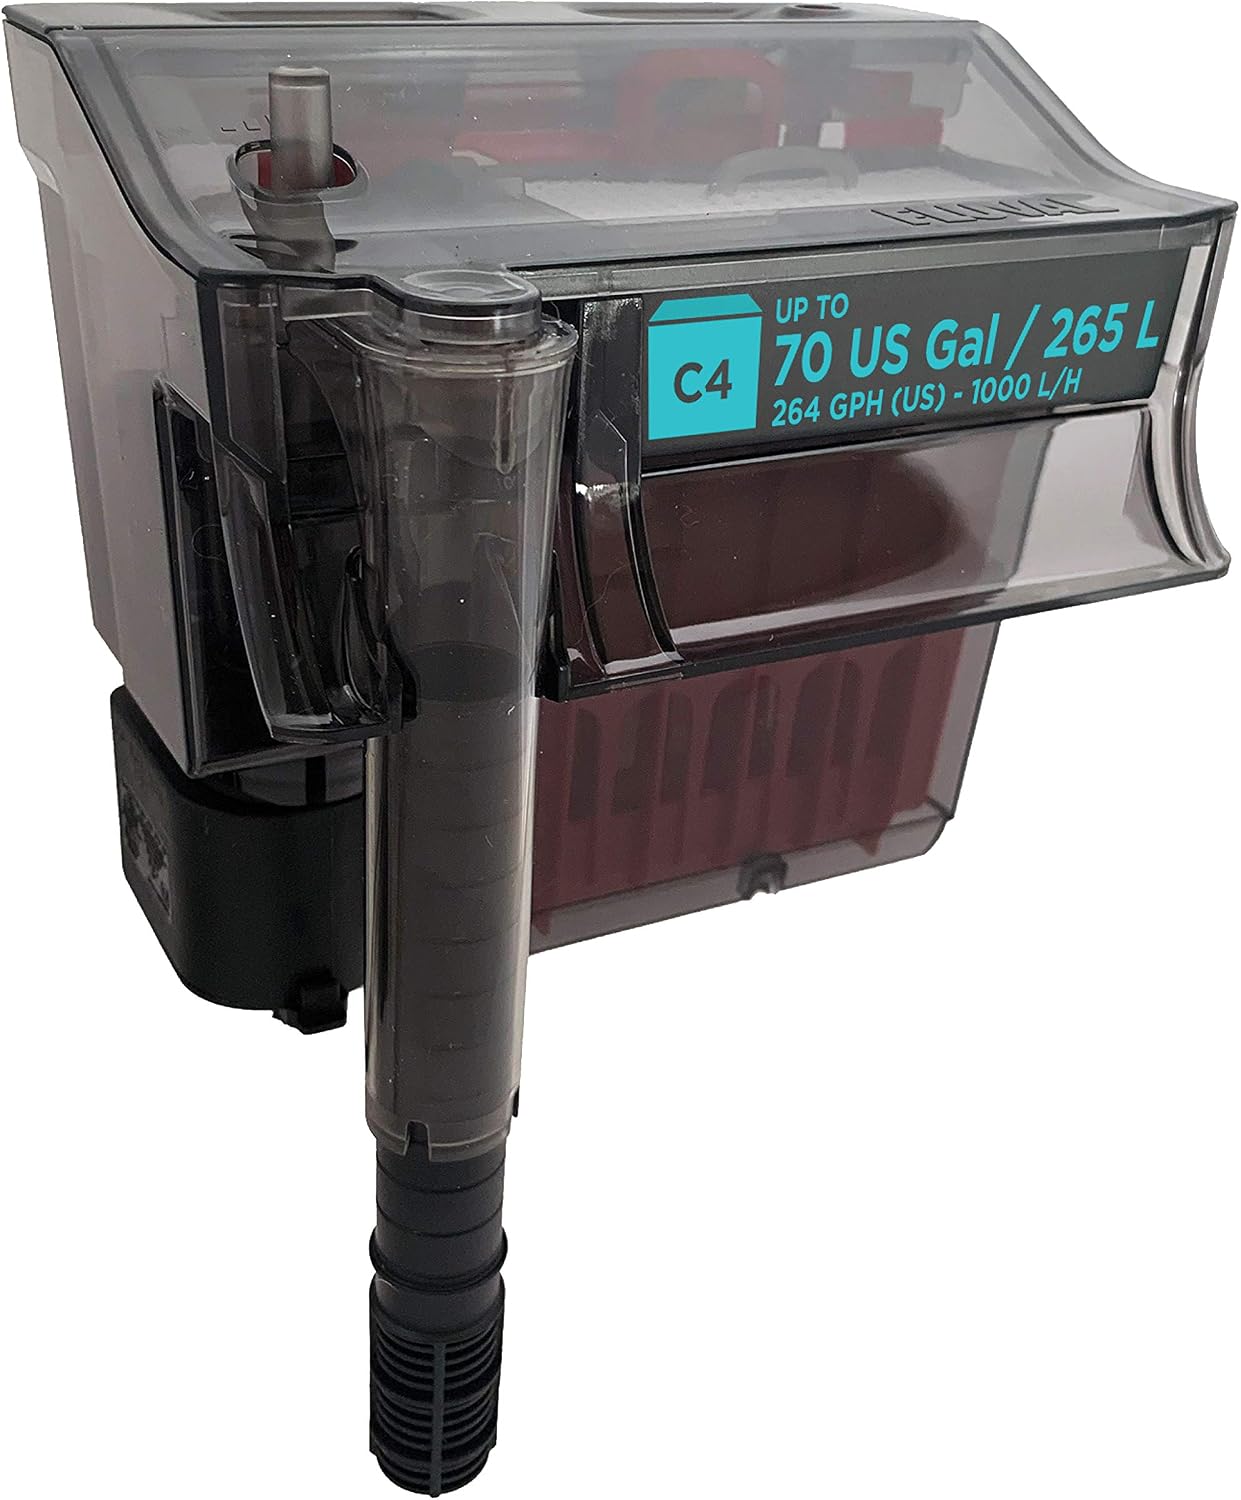
| Capacity label | Officially up to 70 US gal / 265 L | Not a guaranteed stocking allowance |
| Body size | Officially 8.3 × 6.1 × 8.5 in; retailer lists 9 × 6.5 × 8.5 in | Do not average the fields or infer exact bracket clearance |
| Rim fit | Official FAQ gives approximately 1 1/8 in / 3.0 cm maximum | Rim shape, lids and actual seating still need checking |
| US power specification | Officially 5 W, 120 V / 60 Hz | Confirm the actual appliance label |
| Included media | Poly/Foam, activated carbon, biological media and Bio-Screen | Confirm package contents and use each medium’s instructions |
There is also a flow-unit discrepancy in the current official table: it pairs 264 US GPH with 900 LPH for the 120 V entry. Those quantities are not equivalent; the current retailer product image instead labels 264 US GPH / 1,000 LPH. Do not use the conflicting figures to calculate a guaranteed turnover rate; ask Fluval to confirm the relevant US specification if the figure drives your purchase.
Even a consistent published flow number would not be a noise measurement or a test of your installed aquarium. Keep manufacturer filtration and quiet-operation claims separate from independent evidence. Independent decibel, delivered-flow and long-term reliability results have not been verified for this model.
Check the rim, rear gap and media access
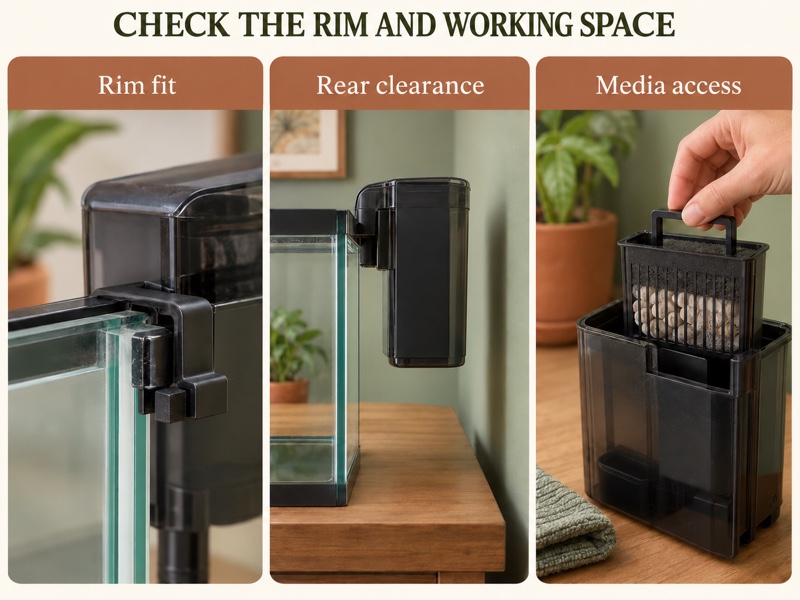
The Fluval C4 hangs over the aquarium rim, so start with the actual cross-section of that rim. The official maximum thickness is only one part of fit. A wide molded lip, an overhanging lid or a brace may interfere even when the glass itself is thin enough.
Measure the available rear gap from the tank to the wall and compare it with the real filter body and connections. The difference between official and retailer dimensions means you should resolve a tight installation with the supplier before buying. Do not choose the smaller measurement simply because it makes the filter appear to fit.
Leave enough access above the filter to lift its cover and remove media. A unit wedged beneath a shelf may be easy to purchase but awkward to maintain. Check the approach for your hands and cleaning container, not only the space occupied by the closed housing.
The C Series quick-start and maintenance guide instructs users to install the leveling device and adjust the filter so it sits vertically. Follow that assembly rather than supporting the housing with an improvised object. Inspect for shipping damage and check the motor is securely attached before use.
Set water level and prime the Fluval C4 correctly
Install the intake and media according to the guide, then fill the filter case completely with water before starting. Fluval directs users to select the minimum-flow position for initial priming and adjust the output after priming is complete. Do not use the motor as a way to run an empty housing into operation.
The manual states that aquarium water should be no more than 2.25 inches / 6 cm below the rim. Treat that as the documented operating boundary, while following the complete setup instructions for your tank. A lower waterline is not automatically acceptable just because the intake remains partly submerged.
Watch the return and inspect for abnormal leakage after starting. Confirm that the intake remains properly positioned and that the filter has completed priming. If it fails to circulate, disconnect it and work through the documented checks instead of allowing continued dry operation.
Check the power label, arrange the required drip loop and follow the manual’s electrical precautions before putting hands in the water or handling the filter. Its filter-pump is not a submersible appliance. Water on an electrical component or a damaged cord calls for the manufacturer’s safety procedure, not an improvised repair.
Understand the Fluval C4 media sections
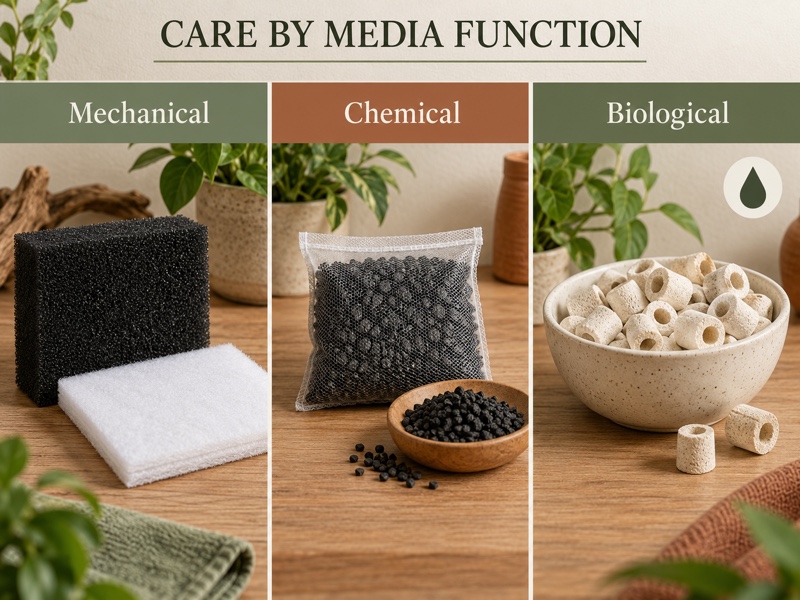
Fluval describes five stages across mechanical, chemical and biological functions. The number of stages is a description of the design, not a guarantee of perfect water quality. Keeping the media in the correct arrangement and maintaining the system still matters.
| Section | Intended role | Care distinction |
|---|---|---|
| Poly/Foam mechanical pad | Collect larger and finer debris | Inspect, rinse or replace as the manual and condition require |
| Activated-carbon insert | Provide the specified chemical-media stage | Follow replacement instructions; do not assume rinsing renews its capacity |
| Bio-Screen | Part of the biological and trickle-chamber arrangement | Keep orientation correct and follow its care instructions |
| Biological nodes / BIOMAX | Provide biological-media surface | Follow the media guidance and distinguish new-media preparation from established-system care |
The product page currently uses BIOMAX wording, while the retailer features refer to C-Nodes. Check the material supplied with your unit and buy replacement components by the confirmed model and instructions. Do not assume a similar-looking biological insert from another filter has the same fit.
The mechanical frame’s pop-up indicator signals that its pad needs attention. It is not an ammonia or nitrite monitor, and a hidden indicator does not establish that every other component is clean. Keep it as one observation within a wider maintenance routine.
Fluval’s setup guide identifies pad orientation and says the Bio-Screen’s larger holes face upward. Preserve the specified order rather than swapping layers to copy another filter’s layout. First-use rinsing and ongoing care of established biological media are different tasks; consult the relevant instructions for each.
PRODUCT MENTIONED
Fluval C4 Power Filter, Complete Clip-On Unit
Amazon · Details on the retailer’s website
Trace noise and reduced flow before replacing the filter
Begin by describing the sound: falling water, vibration or a noise centered on the motor. These are useful troubleshooting observations, not diagnoses. Note the waterline, recent cleaning, flow-control position and whether the noise appeared immediately after reassembly.
Check that the Fluval C4 sits correctly on its leveler and that accessible parts and the cover are properly seated. Follow the manufacturer’s disconnection precautions before touching or removing components. Avoid pushing objects into a running intake or trying to quiet the unit by covering ventilation or electrical parts.
The manual specifically associates motor noise with an impeller assembly that may need cleaning, and notes that wear can eventually require replacement. Its service instructions describe disconnecting and emptying the unit before accessing the motor. Use those steps, not an unrelated filter’s disassembly video.
For reduced flow, inspect the intake, mechanical pad and accessible water path as directed. A dirty pad or deposit may require attention, but do not claim that every reduction has the same cause. If the problem continues after documented maintenance, give Fluval the exact model, symptoms and maintenance history.
Flow adjustment is useful, but the presence of a refiltration feature does not certify a particular current for every fish or shrimp. Assess the occupants and intake protection separately with appropriate care advice. An animal caught at the intake is not proof that it was ill or that the flow was suitable.
Build a maintenance record around component condition
The C Series guide recommends regular cleaning and provides different intervals for the impeller, seal, Poly/Foam, biological material and carbon. Use the current manual and the actual media labels to plan the work. One blanket clean-everything rule misses these differences.
Disconnect the filter before maintenance and use the guide’s removal and reassembly sequence. Clean appropriate parts with the specified water and avoid soaps or detergents. Check the intake tube and impeller area for deposits rather than replacing only the easiest visible pad.
Record which components were rinsed, inspected or replaced, and keep the correct part references. The manual lists separate C2, C3 and C4 parts for several assemblies. A product family name is not enough to establish that a replacement intake, basket or impeller fits.
After maintenance, refill and prime as instructed, then verify flow and look for leakage. Observe whether the original noise changed. If it did not, preserve that information for support rather than repeatedly replacing media without a clear reason.
When the C4 remains a reasonable candidate
Consider the Fluval C4 when a rear-mounted filter suits your aquarium, its bracket and lid fit are confirmed, and you can reach its media for routine care. Resolve tight-clearance questions and the published flow-unit discrepancy before relying on them in a purchase decision.
Pause if the filter only fits by tilting the housing, blocking the lid or operating below the documented water level. Also pause if you need a verified quietness measurement: the manufacturer’s motor description does not provide a decibel result for your room or individual unit.
Include replacement media and maintenance time in the budget. Carbon is not a universal remedy for an unidentified water problem, and an up-to-70-gallon label does not establish that an aquarium is ready for livestock. Equipment selection and an appropriate species-specific care plan need separate checks.
Frequently asked questions
Will the Fluval C4 fit every aquarium under 70 gallons?
No. Check the rim profile, lid cutout, rear space, water level and access above the media. Aquarium volume alone cannot establish physical fit. Where published dimensions conflict and clearance is tight, obtain confirmation before ordering.
Can I run the filter empty while it primes?
No. Fluval directs users to fill the case with water before startup and warns against operation without water. Follow the full priming sequence and disconnect the unit if normal circulation does not begin.
Does the cleaning indicator test water quality?
No. It relates to the mechanical Poly/Foam pad’s maintenance. It does not measure ammonia, nitrite or every other water condition, and it does not certify that the biological and chemical media are performing as required.
Choose the installation you can maintain
Evaluate the Fluval C4 by confirmed rim fit, correct water level and accessible media care. Keep manufacturer ratings, source discrepancies and observed behavior distinct. Browse the pet care article library for further equipment reading without transferring another model’s specifications to this filter.
View the Fluval C4 Power Filter, ASIN B003SJXTIU, and confirm the complete filter, selected model, actual dimensions and power labeling before ordering.
Comments are reviewed before they appear publicly. Please keep questions and feedback relevant to this article.