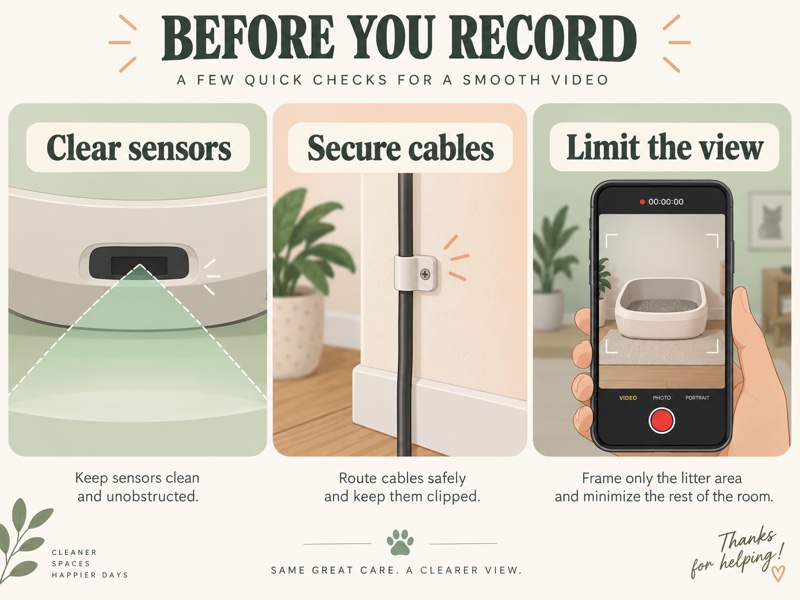
AI-created generic planning scene; this is not a KHPSAQN, Tapo or LR4 product photograph or an installation test.
A Litter Robot 4 camera setup needs three separate checks: the bracket must fit the robot, the camera must fit the bracket, and the power supply must match the camera. A seller’s compatibility list does not settle all three. Keep the entry sensors clear and make sure the camera and cable cannot interfere with normal operation.
The selected accessory is the KHPSAQN camera mount, model 5310, White, ASIN B0H6M1T61K. Its seller lists Litter-Robot 4 and Tapo C100, C110, C101 and C111 compatibility. This is a third-party bracket, not Whisker’s original camera kit. An independent installation result has not been verified for this mount, so confirm the exact camera version and supplied instructions before fitting it.
Litter Robot 4 camera compatibility starts with the bracket
The selected listing describes a clip-on design, a cable-routing clip and a cutout intended to avoid the curtain laser sensors. Those are seller claims about this particular accessory. They do not establish Whisker approval or prove that every camera with a similar outline will fit. Read the brand, model and selected color together; a generic product photograph is insufficient identification.
| Part of the setup | What to confirm |
|---|---|
| Robot | The device is Litter-Robot 4, not a different generation |
| Bracket | KHPSAQN model 5310, selected White variant, ASIN B0H6M1T61K |
| Camera | Exact model, hardware version, base shape and cable exit match the mount instructions |
| Power | The camera’s input rating and approved adapter match; physical fit is a separate question |
| Clearance | The bracket, camera and wire leave sensors and moving components unobstructed |
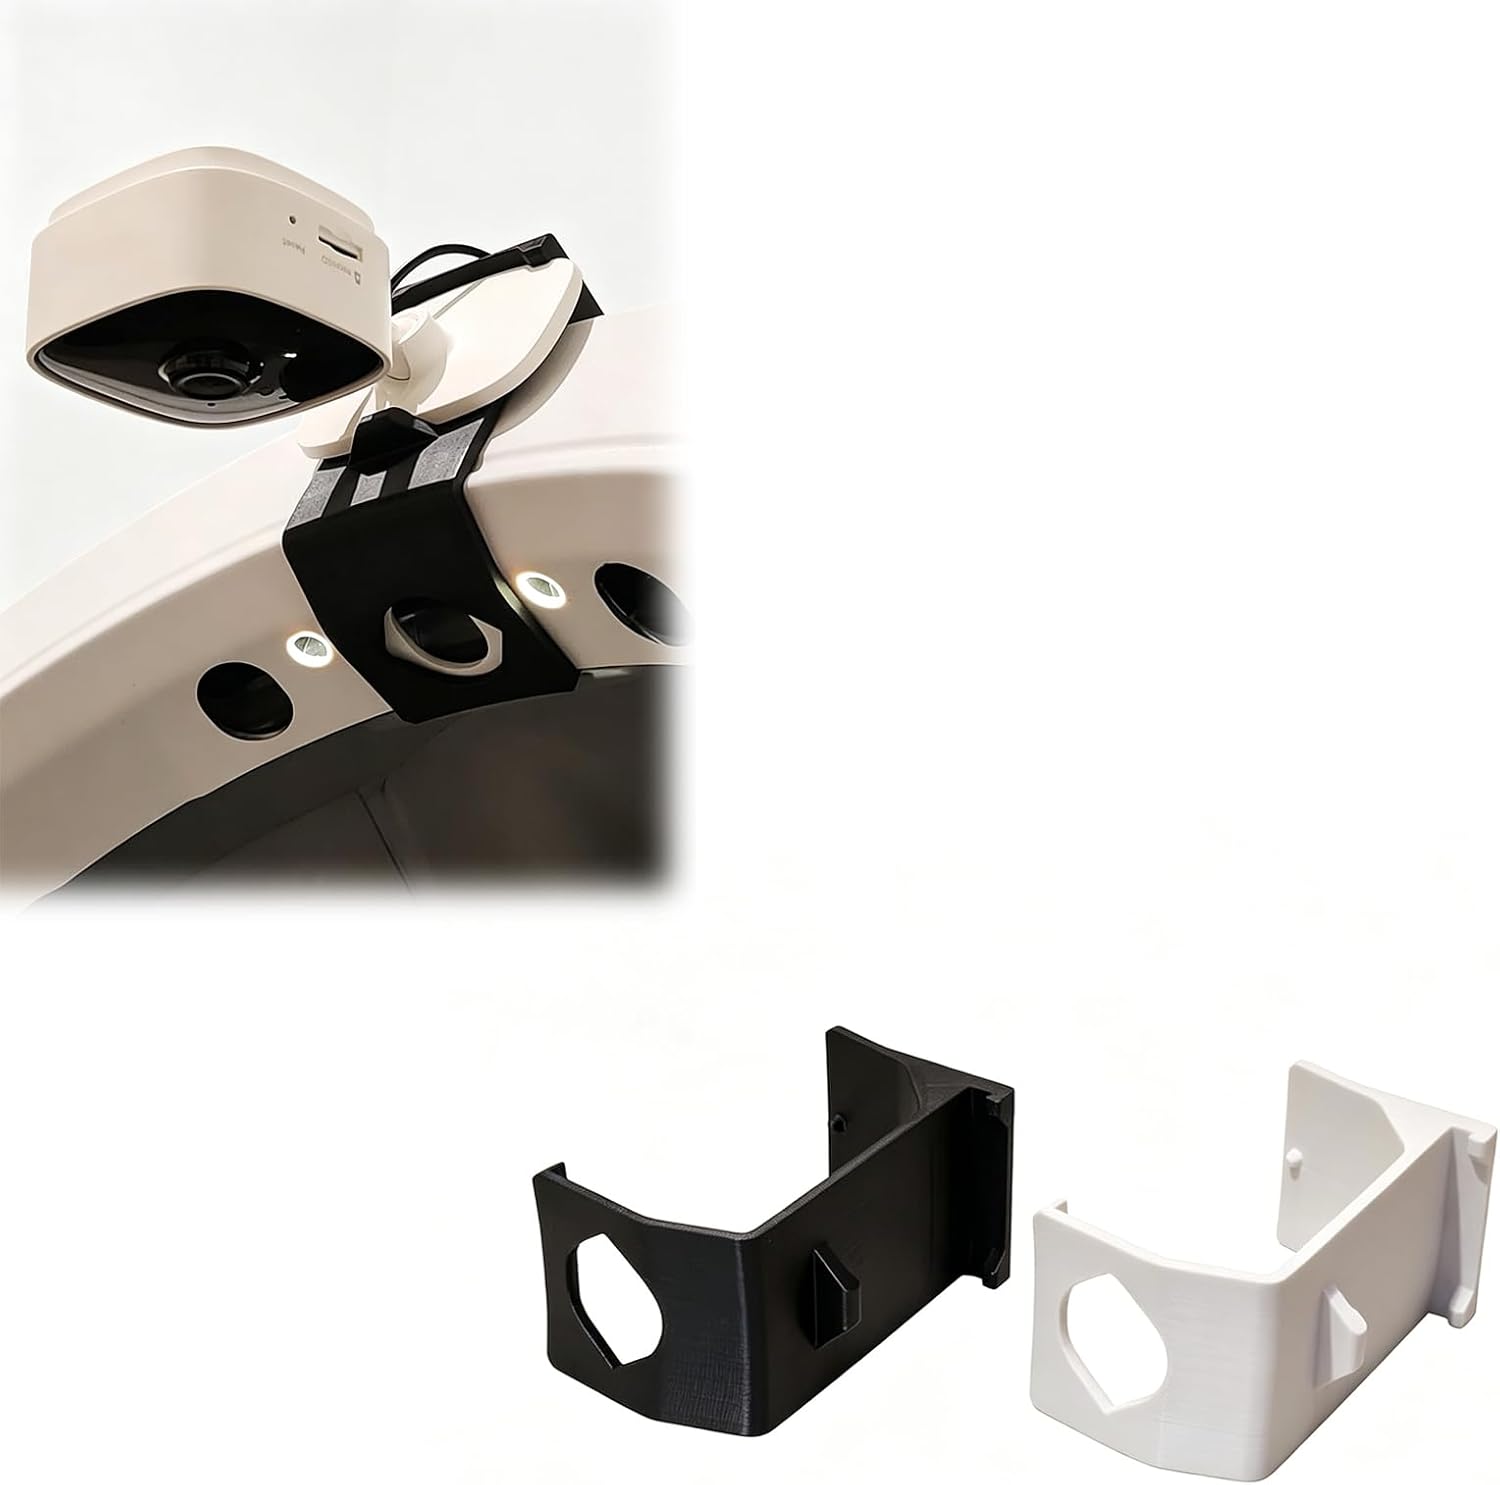
The retailer image combines an example mounted camera with separate black and white bracket views. It does not mean both colors are supplied, or establish that a camera is included. This is a mounting-accessory listing; verify its current box contents and budget for the camera and any storage separately. Do not order based on the demonstration photograph alone.
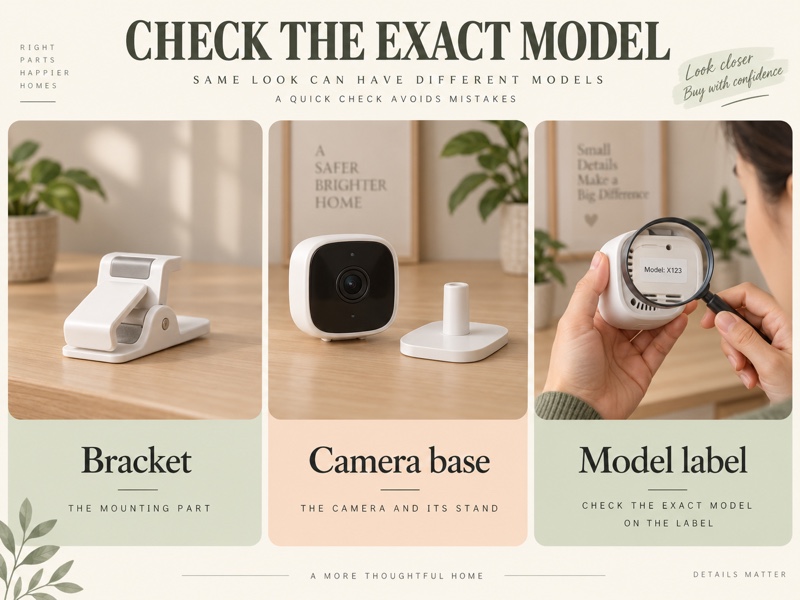
Keep third-party and original Whisker kits separate
Whisker’s original LR4 camera-mount kit uses a bracket, hinge, ring magnet, 1/4-inch–20 nylon screw and wire cover. Its hardware and installation sequence describe that kit. They are not a parts inventory or assembly guide for the KHPSAQN clip-on accessory.
The official Whisker installation guide says its bracket must sit above the lasers without obstructing them, centered on the bezel. It also warns that a poorly seated wire cover or misplaced wire can interfere with the bezel. These points explain why clearance matters, but do not justify forcing a different bracket into the original kit’s mounting sequence.
Use the third-party accessory’s own instructions for its attachment method. Stop if it rocks, needs improvised adhesive, obscures an opening or changes how the bezel sits. A listing’s sensor cutout is a design claim, not permission to cover any part of the detection area. Resolve uncertain fit with the accessory supplier and Whisker before operating the robot with it installed.
Check Litter Robot 4 camera power independently
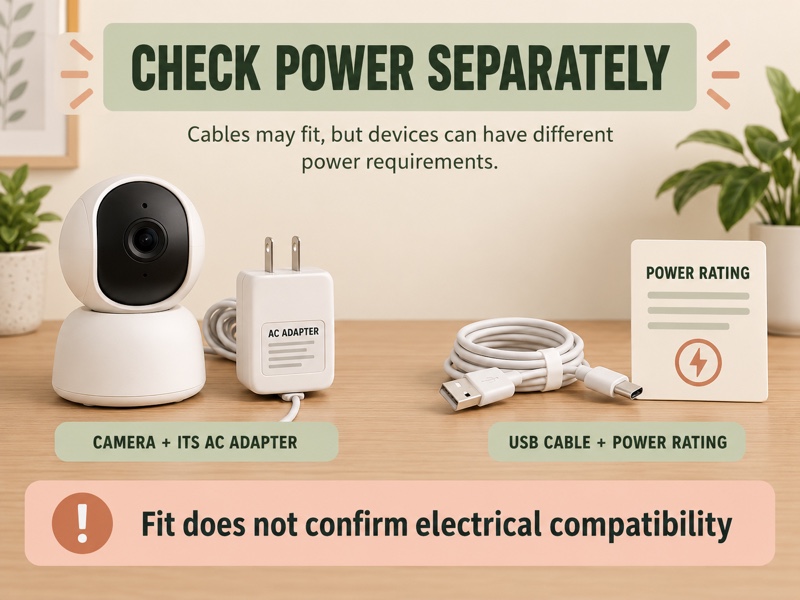
Whisker’s original-kit page identifies the LR4 USB supply as 5 V, 1 A. That does not make it a suitable source for every camera that physically fits a mount. A connector adapter cannot by itself establish the correct voltage, current capacity or device approval.
For example, TP-Link’s current Tapo C110 V2.20 specifications list a 9 V DC adapter with 9 V, 0.6 A output. This is different from the LR4’s stated USB supply. Use the camera manufacturer’s approved power arrangement rather than connecting that version to the robot on the strength of the mount’s C110 compatibility claim.
Check the label on your actual camera and adapter, including hardware version. The C110 V2.20 figures are not a universal specification for C100, C101, C111 or older C110 versions. Plan the approved cable route before clipping anything in place. Keep plugs and adapters dry, remove dangling loops and do not trap wires under the robot, drawer or bezel.
PRODUCT MENTIONED
KHPSAQN Camera Mount for Litter-Robot 4, Model 5310, White
Amazon · Details on the retailer’s website
Plan the view before installing the mount
Decide what you need to observe: approaching the entry, entering and leaving, or the surrounding floor. A close bracket position can have a narrow useful view, and night-vision reflections may make a daytime angle less useful after dark. Neither the mount listing nor a camera resolution figure proves that individual cats will be identified reliably.
- Confirm the robot generation, bracket variant and camera model before assembly.
- Test the camera on a stable nearby surface using its approved power supply and network setup.
- Check daylight and night views, with attention to glare, blocked areas and household privacy.
- Follow the mount’s supplied attachment instructions and preserve sensor and component clearance.
- Secure the cable without pinching it, then verify normal robot operation according to Whisker’s instructions.
- Remove the accessory and seek support if installation introduces sensor warnings, loose parts or interference.
Do not defeat a safety sensor to obtain a better picture. A recording is also not a substitute for checking the robot, cleaning it or observing the cat directly. If you are comparing visits, use the recordings as context rather than treating an uncertain image as a confirmed identity or health conclusion.
Set privacy and storage deliberately
Frame only the area you need and consider what visitors or other household members might appear on camera. TP-Link’s current C110 V2.20 page describes privacy zones, recording pause and local microSD storage up to 512 GB, with the card sold separately. It also offers Tapo Care cloud storage with a subscription. Confirm these features for your own hardware version and account region.
Activity zones, privacy zones and recording controls serve different purposes. Reducing motion alerts does not necessarily remove part of the image from stored video. Check the actual preview and a saved clip after configuring the camera. Review who has account access, how long footage remains and whether audio recording is necessary for your intended use.
Questions about a Litter Robot 4 camera mount
Does this bracket make the camera part of the Whisker app?
The reviewed listing establishes no Whisker app integration. Physical attachment and camera-app functions are separate. Check the camera’s own app, network and storage requirements instead of assuming that mounting it on LR4 adds video to the robot’s app.
Can I copy the original kit’s USB instructions?
Only use a power arrangement approved for the exact camera. The current C110 V2.20 specifications call for a 9 V DC adapter, while Whisker’s original-kit page describes 5 V, 1 A USB power. A bracket compatibility claim does not resolve that electrical difference.
Is the KHPSAQN mount an original Whisker accessory?
No. It is a third-party model 5310 listing. Its four named Tapo compatibility claims should be checked against the actual hardware and base. Whisker’s original kit has its own fit and clearance requirements; its existence does not certify this third-party accessory.
Choose after the model, power and clearance checks
A useful Litter Robot 4 camera setup should preserve the robot’s normal operation and provide the view you need without an unsafe cable route. Confirm the selected White bracket, camera hardware version, approved supply and exact bundle contents. If any of those remain unclear, resolve them before installing the mount.
Once those checks match, view the KHPSAQN model 5310 camera mount. Confirm ASIN B0H6M1T61K, the selected color and delivery for your address.
Comments are reviewed before they appear publicly. Please keep questions and feedback relevant to this article.