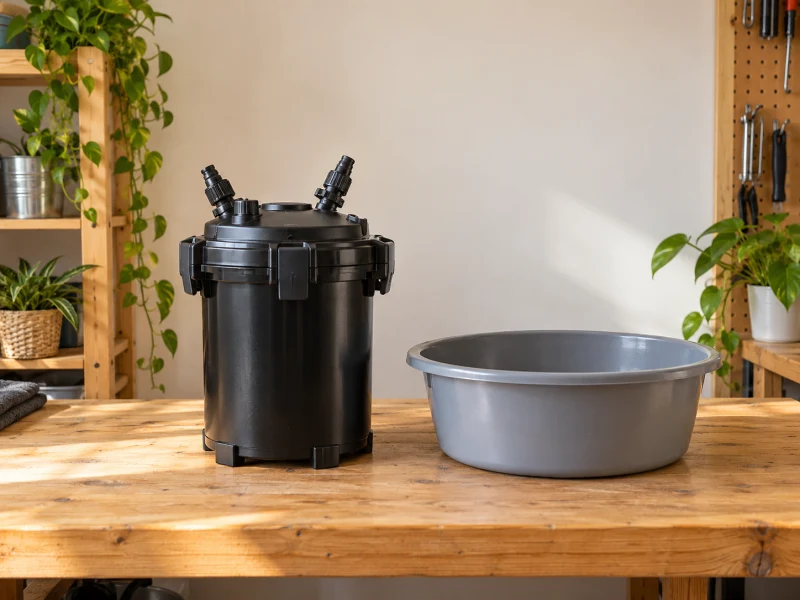
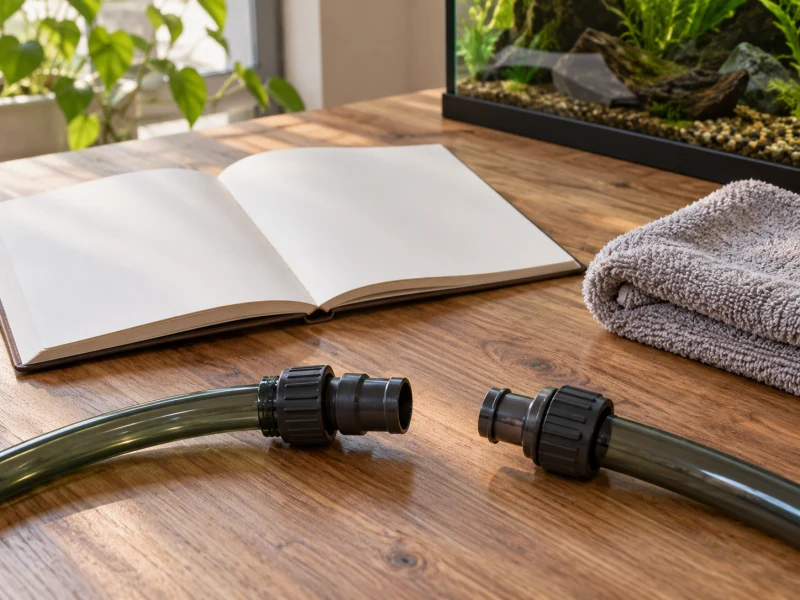
AI-created maintenance-space concept; not a Fluval FX2 product photograph, installation or test.
The Fluval FX2 needs a service route as well as cabinet space. Its body is narrower than the FX4, but it does not include the larger models’ bottom utility valve. If your buying plan depends on draining the filter in place through that valve, choose again before ordering.
The exact selected unit is A213, UPC 015561102131 and ASIN B0BM9NBRW1. Match the delivered filter and its supplied manual to that identity. Shared FX branding does not make the FX2, FX4 and FX6 identical appliances.
Before comparing capacity: confirm that you can remove the wet FX2 upright and take it to a suitable service surface. If your plan requires an in-place bottom drain, the A213 does not meet it. Check the cabinet opening and service route before accepting the 34 × 34 × 42 cm body as a fit.
Read the Fluval FX2 specifications separately
The current US FX2 page lists a 34 × 34 × 42 cm body, approximately 13.4 × 13.4 × 16.5 inches. Its US electrical specification is 120V/60Hz and 27 watts. Confirm the actual rating label; a separate regional entry does not establish universal-voltage operation.
| FX2 specification | Manufacturer value | Decision limit |
|---|---|---|
| Body footprint | 34 × 34 cm | Extra room needed for connections and removal |
| Body height | 42 cm | Not the total operating clearance |
| Pump output | 1,800 L/h, 475 US GPH | Not installed filtered flow |
| Filter circulation | 1,300 L/h, 343 US GPH | Read with the manual’s test conditions |
| Biological volume | 3.9 L | Media volume, not a stocking allowance |
| Maximum head | 2.1 m | Separate from prescribed installation geometry |
The manual qualifies flow measurements: equal-length intake and output hoses, without media or in-tank inlet and outlet accessories. A loaded home installation is a different condition. Neither headline number establishes what you will measure at the return.
Measure Fluval FX2 access through the cabinet
The door opening, center brace and shelf position can matter more than the advertised cabinet size. Measure the route into the cabinet and the route back out, including access to the upper valves and fasteners.
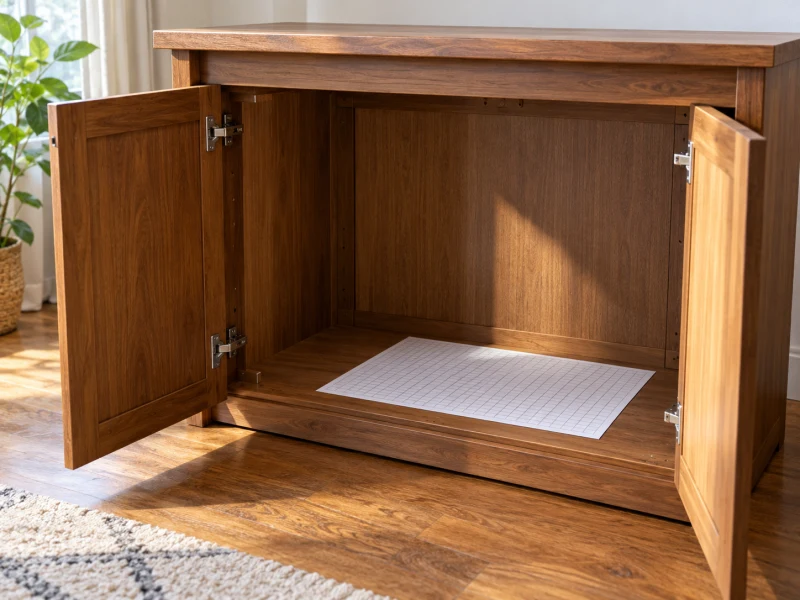
Do not infer a universal clearance from the 42 cm body height. The top fittings and hoses need their intended route, and a person must be able to unlock and remove components correctly. A tightly fitted canister can be difficult to service even if it initially enters the cabinet.
Compare its 34 cm footprint with the actual available base. Fluval’s “fits within standard sized cabinetry” wording is a manufacturer description, not approval for every aquarium stand. Respect the stand’s construction and support instructions.
Include handling ability in the plan. Wet media and retained water make the maintenance task different from carrying an empty carton. Choose a location that does not require twisting, lifting by the lid or dragging the unit by connected hoses.
Write down the cabinet and service-route checks
| Check | Reference or your entry | What must work |
|---|---|---|
| Body only | Published dimensions: 34 × 34 × 42 cm | Do not count these as the hose, valve or service envelope. |
| Cabinet opening | Clear width: ___; clear height: ___; brace position: ___ | The unit can enter and leave through the actual opening, not just fit the interior. |
| Base and upper access | Available base: ___; valve and fastener access checked: ___ | The stand supports the planned arrangement and the top connections remain reachable. |
| Hose route | Intake route: ___; output route: ___ | Follow the manual’s installation geometry and direct hose path, without slack loops. |
| Wet transfer | Upright removal path: ___; intended handler/help: ___ | Use the side handles under the ordered instructions; do not rely on an empty-carton lift. |
| Service destination | Flat surface near sink/drain: ___; basket space: ___ | Provide a supported transfer and permitted pour-out route; FX2 has no utility drain. |
For example, an ample cabinet interior still fails the plan if a center brace blocks upright removal or the top valves cannot be disconnected as instructed. Leave an unmeasured field unresolved; do not substitute a generic extra number above the 42 cm body height.
The Fluval FX2 has no bottom utility valve
The current FX Series manual marks the utility valve and its hose as not included with FX2. Its parts table lists those items for FX4 and FX6 only.
Some retailer copy describes a bottom drain and powered water-change arrangement under the FX2 listing. That text conflicts with the exact model’s primary documentation. Do not buy A213 expecting an FX4/FX6 drain assembly or treat the missing valve as a reason to modify the canister.
The FX2 maintenance section instead gives its own ordered shutdown, valve disconnection, upright transfer, basket removal and pour-out process. The difference changes where you can maintain the unit and how you will handle the water.
Consider the Fluval FX2 A213 when its narrower body fits a compliant installation and you can handle its actual upright removal and pour-out maintenance route. Pass if your plan depends on a bottom utility drain, because that FX4/FX6 feature is not part of the FX2.
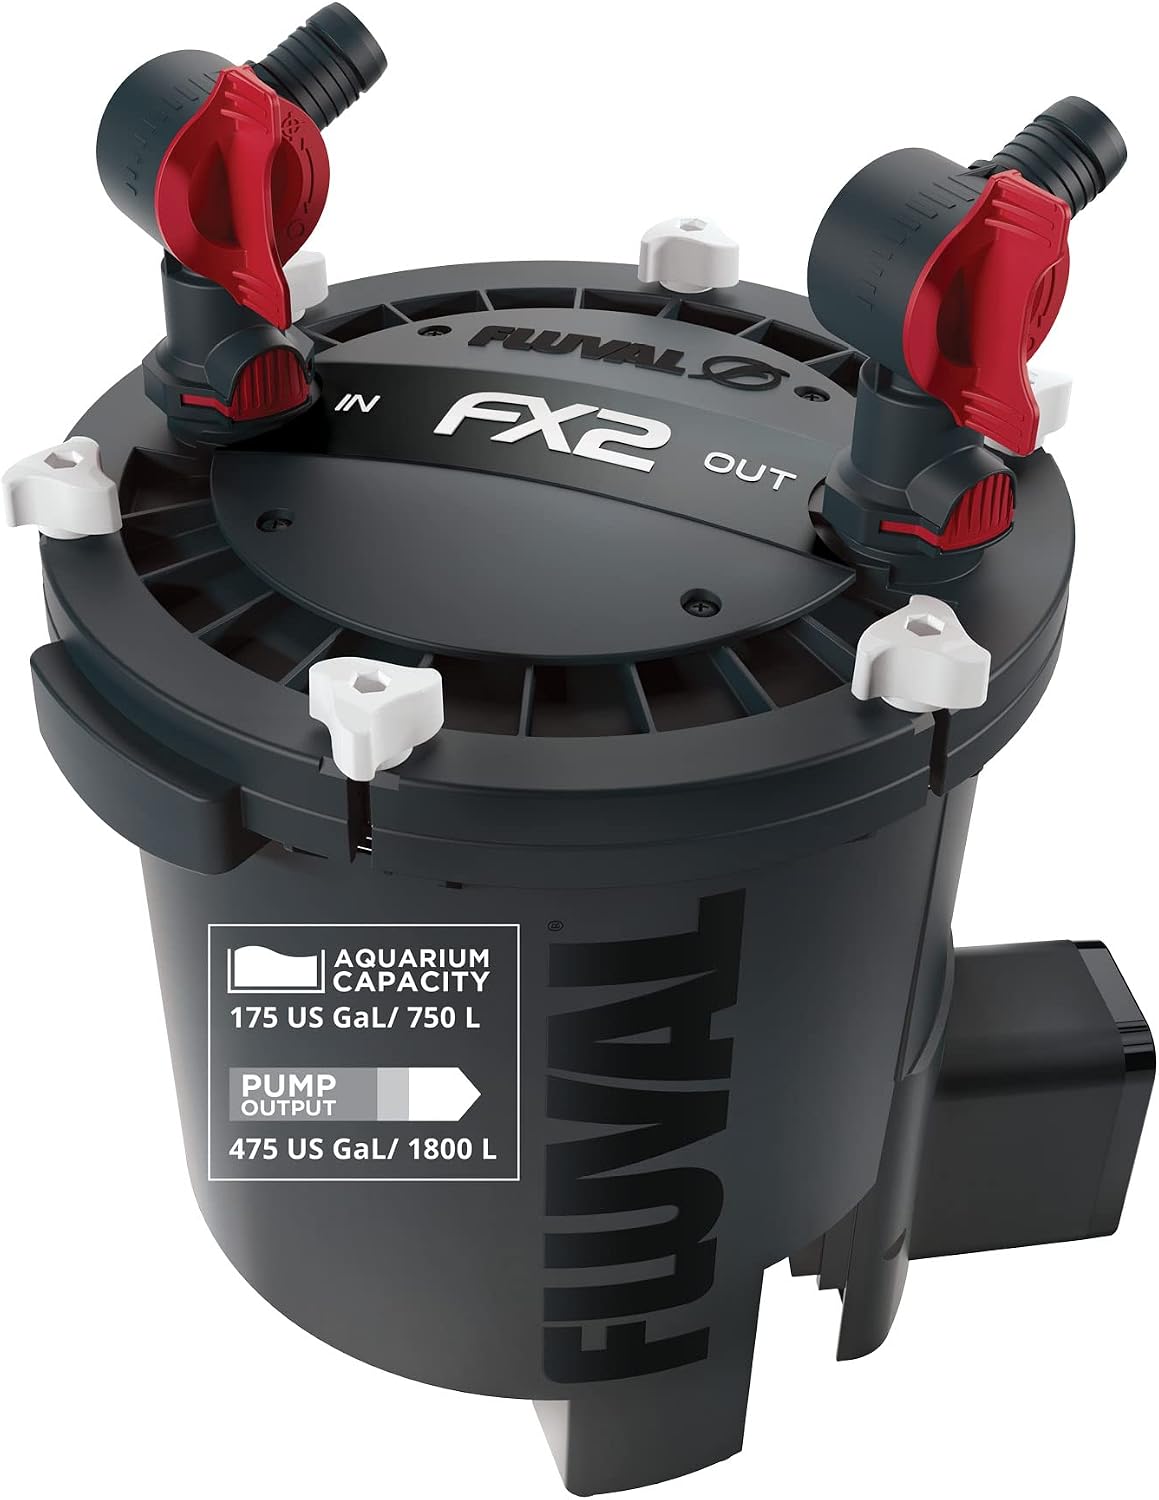
PRODUCT MENTIONED
Fluval FX2 Canister Filter, A213
Amazon · Details on the retailer’s website
Plan the Fluval FX2 pour-out route
Read the complete FX2 maintenance sequence before choosing a cabinet. The manual specifies closing the IN and OUT valves in order, unplugging, disconnecting and carrying the unit upright by its side handles to a flat work surface near a sink or drain.
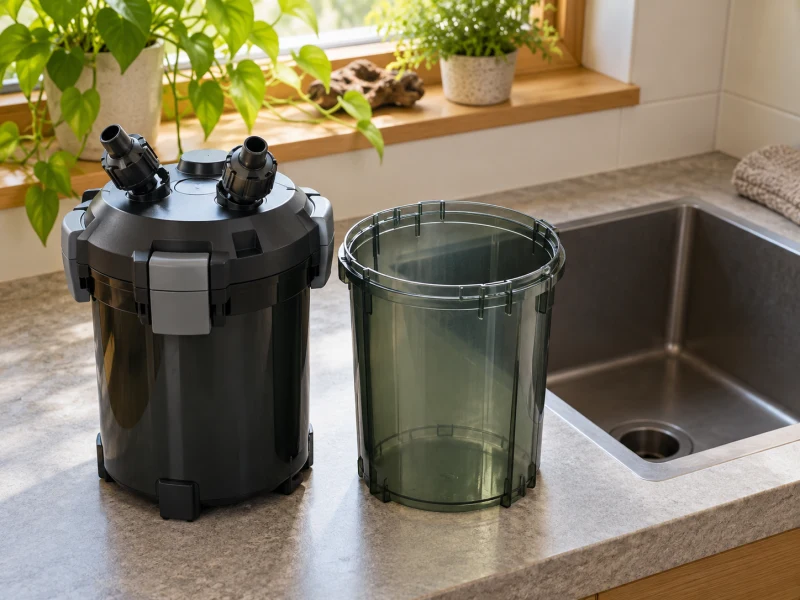
Its six lid fasteners and removable baskets are then handled under the matched instructions before the remaining water is poured out. Do not follow the FX4/FX6 gravity-drain sequence simply because it is illustrated in the same document.
Prepare the destination and clear the route before starting. Keep the canister supported and upright during the instructed transfer, and keep electrical parts out of the water path. No arbitrary empty-filter weight proves this task will be comfortable with your installed unit.
If the only route includes an awkward lift, inaccessible cabinet corner or unsuitable sink position, reconsider the installation. A smaller footprint does not eliminate the need to carry and empty the actual system correctly.
If the required wet transfer is impractical, assess a different filtration layout instead of modifying the FX2. The C2 and C3 hang-on-back fit checks address rim and lid mounting; those filters still need aquarium-specific flow and maintenance planning.
Route hoses within the documented installation
The FX family uses a gravity-fed arrangement. The manual says never to install the filter above the water level and provides a labeled diagram for the required vertical relationships. Maximum head is not a replacement for that placement diagram.
Hoses should follow the specified direct path without slack loops. For a longer hose arrangement, the manual limits the intake to 2 m and combined intake and output to 5 m. Those limits do not promise unchanged flow at every permitted length.
The current contents identify 25 mm, or 1-inch, ribbed hosing. Use the intended fittings and instructions; a common diameter does not establish that any generic adapter or household clamp arrangement is suitable.
Keep the intake away from air sources under the manual’s guidance and check the actual rim and lid arrangement. Air entering through an unsuitable route can undermine a setup that otherwise appears to fit.
Understand Fluval FX2 starting and pauses
Self-starting does not mean dry starting. The manual requires the completed FX2 canister to contain at least 5 L of water before its first powered priming sequence. The 6 L and 8 L instructions in the same family document belong to other models.
Once correctly assembled and powered, the documented sequence runs for one minute, pauses for two minutes to expel air and resumes. A separate recurring one-minute stop every 12 hours releases accumulated air. Those are two different described events.
Compare actual behavior with the complete instructions and inspect the system after restarting. Failure to resume, continuing abnormal air entry or leakage should not be dismissed as a normal programmed pause. Avoid repeatedly cycling power without finding the cause.
Match Fluval FX2 media and replacement parts
The manufacturer lists two white baskets and two red half-baskets, plus mechanical, chemical and biological media. The current contents include Bio-Foam, Bio-Foam+, BIOMAX and a carbon pad. This basket-in-basket arrangement is not four identical full baskets.
The parts table identifies FX2-specific basket and lid-seal references, even though some other components are shared within the family. Record the delivered model before buying spares. Similar-looking baskets do not establish interchangeability.
During care, follow the medium-specific instructions: biological media use aquarium water, foam has its own rinsing guidance and chemical media are replaced as required. Rinsing a spent chemical medium does not restore its verified capacity.
Use no soap or detergent in the canister and baskets. Respect the media fill limits and keep loose granules contained as directed. Overpacking can prevent baskets seating correctly rather than improve filtration.
Keep a practical FX2 inspection record
Record cleaning, seal condition, replacement parts and any changes in flow or noise. The manual’s component schedule supports regular inspection; it does not guarantee that an abnormal leak can wait until the next date.
The FX2/FX4 pump-care section differs from FX6, and the manual warns that the ceramic shaft is fragile. Follow the correct maintenance procedure and leave work outside documented owner servicing to authorized help. Do not use the number of screws on another model as a guide.
Follow all electrical precautions, including disconnecting aquarium appliances before handling and arranging drip loops. A damaged cord or wet connection requires the stated safe response, not a homemade repair.
Record one maintenance cycle
Record the service date, exact parts or media handled, any seal concern, and the result after the documented restart. Compare the actual flow, leakage and air behavior with the instructions. A changed sound or persistent fault needs assessment now, not an invented waiting period until the next scheduled cleaning.
Questions before buying the Fluval FX2
Is it a shorter FX4?
No. The current US table gives both bodies a 42 cm height, while the FX2 has the narrower footprint. Their drainage equipment and some parts differ.
Can its bottom drain handle water changes?
FX2 has no bottom utility valve in the current primary documentation. Do not transfer FX4/FX6 water-change instructions to it.
Does the advertised tank rating establish fish capacity?
No. Animals, waste load, flow needs and water care still determine suitability. Published capacity and pump figures do not replace aquarium-specific planning.
Choose an FX2 you can remove and maintain
The Fluval FX2 can suit a setup that benefits from its narrower footprint and accepts its particular maintenance route. Confirm A213, the US electrical label, correct hose arrangement and accessible service destination.
If the purchase depends on an in-place utility drain or an effortless wet lift, the actual model does not meet that assumption. Resolve those practical requirements before adding another external water circuit to the aquarium.
Comments are reviewed before they appear publicly. Please keep questions and feedback relevant to this article.