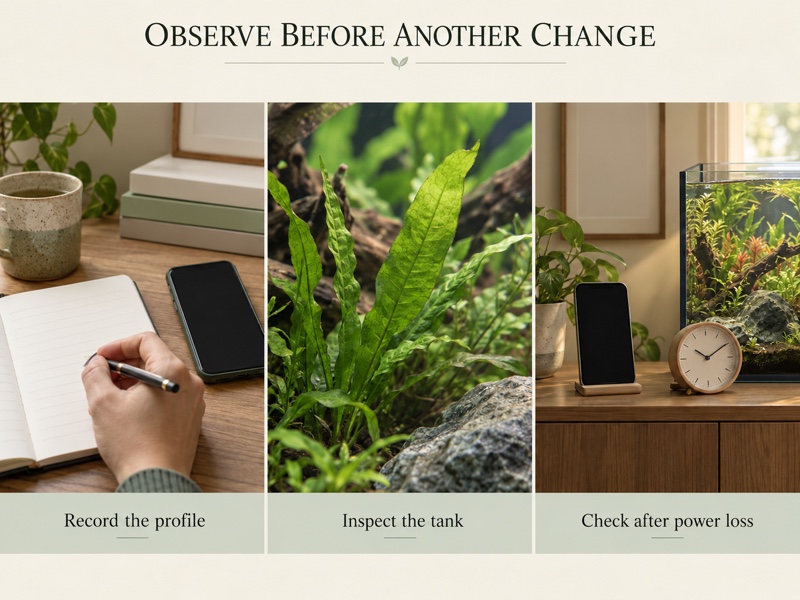
AI-created generic aquarium scene; not the selected Fluval fixture or a growth-test result.
Set Fluval Plant 3.0 settings by confirming the fixture, choosing the correct app device type, saving a complete daily profile and checking its behavior at the tank. A percentage copied from another aquarium cannot establish the light reaching your plants. Tank depth, shading, plant requirements and the rest of the growing setup still matter.
The specified Plant 3.0 is the 22 W, 15–24 inch version, ASIN B083QP62MP. Use the correct instructions for FluvalSmart or current FluvalConnect compatibility, and check reconnection after power loss. Independent PAR, growth and algae-control results have not been verified for this setup.
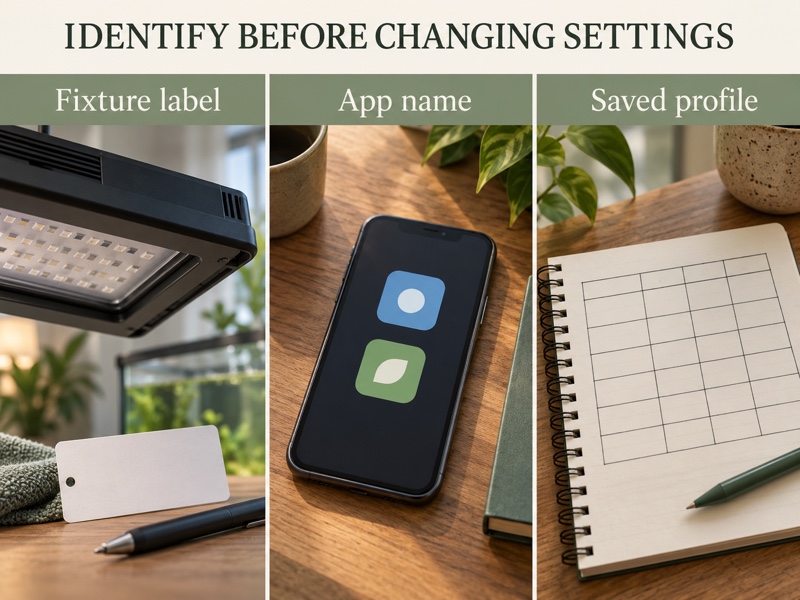
Identify the fixture before changing Fluval Plant 3.0 settings
The official US Plant 3.0 specifications identify the 22 W model as item 14520, with a 15–24 inch mounting range. The fixture body is listed as 15 × 2.5 × 0.75 inches. The mounting range and body length describe different things; neither establishes the light distribution in your particular aquarium.
Match the label and power supply to the product you own. The same product family contains longer, higher-wattage versions, and Plant Pro or Plant 4.0 instructions do not automatically apply to this light. A retailer listing for the correct family can still have another size selected.
Fluval lists programmable daily transitions, independently adjustable colors and manual touch-switch control for Plant 3.0. Those controls are useful tools, but their availability does not prove that maximum output is appropriate for every planted tank. Preserve your existing profile before making changes.
Choose the app path for your Plant 3.0
The product page still presents FluvalSmart, and the Plant 3.0 FAQ documents that app’s pairing and saving process. Meanwhile, the current FluvalConnect FAQ explicitly supports older Bluetooth lights through its first-generation device section. The new app does not turn an older fixture into Wi-Fi hardware.
In FluvalConnect, use the plus control and choose the first-generation LED option, then follow the scan and device-add instructions. Confirm that you selected the intended fixture, especially in a room containing several lights. Use the current in-app instructions if the wording differs from an older screenshot.
For an existing FluvalSmart setup, Fluval describes scanning with the plus control, selecting the box beside the light name and confirming the selection. Its troubleshooting instructions include enabling Bluetooth and relevant phone location services, and checking the Plant light’s green touch-switch state. Phone permissions and menus vary; do not assume a rejected permission proves the lamp has failed.
Record the app name, fixture label and saved profile before moving to another phone or app. Fluval says first-generation settings in FluvalConnect are stored locally on the phone; signing into an account on a new phone does not restore them. Keep a readable backup instead of relying on cloud behavior described for newer equipment.
Build Fluval Plant 3.0 settings around the whole day
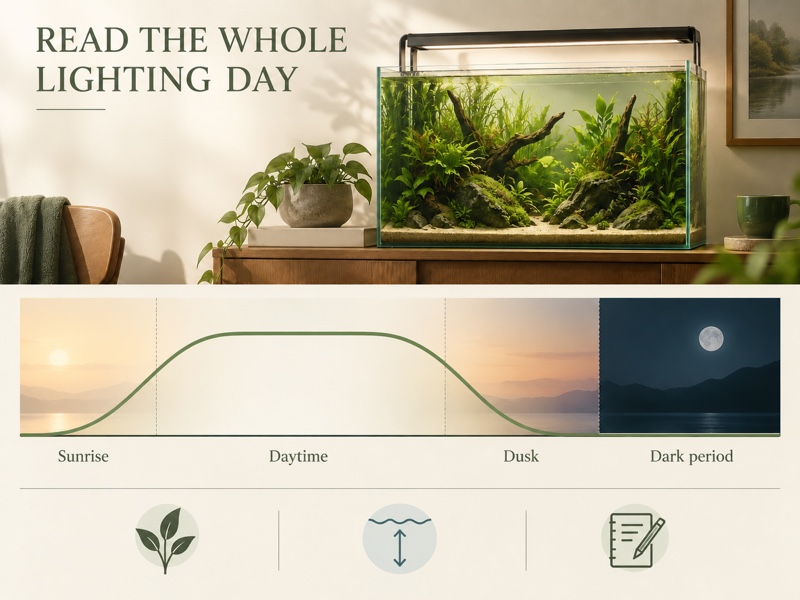
Start by writing down when the aquarium should receive light and when it should be dark. Review gradual ramps and any low night setting as part of the same profile. A short bright plateau can still sit inside a much longer period of illumination if the surrounding settings remain on.
Fluval’s Plant 3.0 FAQ describes 8–10 hours as a typical live-plant photoperiod, while emphasizing differences among plant species. That is broad manufacturer guidance, not an instruction to set every aquarium to ten hours or to combine ten bright hours with additional long ramps. Identify your plants and their care requirements before choosing the schedule.
Use Fluval Plant 3.0 settings that you can explain and observe. For an established tank with a working profile, keep a copy as your baseline. For a new setup, use the plant-specific plan and the app’s instructions rather than treating an online preset as a measured result for your aquarium.
| Variable | What to record | What the setting cannot establish |
|---|---|---|
| Daily timing | Start, ramps, daytime period and darkness | A universal photoperiod for every plant |
| Color channels | Each available channel’s value in the active profile | Identical output from a different model |
| Tank layout | Water depth, lid condition, shading and plant positions | Light at every leaf from one slider percentage |
| Growing conditions | Plant identity, nutrient plan and carbon provision | That increasing light fixes another limitation |
| Clock state | Current time and active mode after an interruption | Automatic recovery merely because the lamp lights up |
Keep the table as a change log. The purpose is to make adjustments traceable, not to prescribe a universal set of channel percentages. Choose channel percentages and any PAR target around the actual aquarium; no universal recipe has been verified for this setup.
Save and verify Fluval Plant 3.0 settings
For FluvalSmart, the manufacturer describes a Preview function that compresses the daily schedule into a minute, followed by saving the customized settings with the Save control. Preview is a check of the programmed sequence, not a substitute for watching the aquarium run at the correct clock time.
- Connect to the correct light and inspect the active profile.
- Record its channel values and all schedule points before editing.
- Check that the transitions occur in the intended order, including the night period.
- Use the app’s preview and save controls for that device type.
- Reconnect and inspect the saved profile and current mode.
- Observe the real transition later, rather than judging success only by a screen confirmation.
FluvalConnect also provides profile and preview functions, but a general app feature list is not proof that every feature belongs to the first-generation light. Follow the controls shown for the actual device. Keep newer Wi-Fi grouping and remote-control instructions separate from this Bluetooth fixture.
If you are managing several units, label each profile clearly. The older FAQ describes copying saved settings between lights of the same model. Matching profiles still do not guarantee matching conditions below them: placement, water depth and shading can differ.
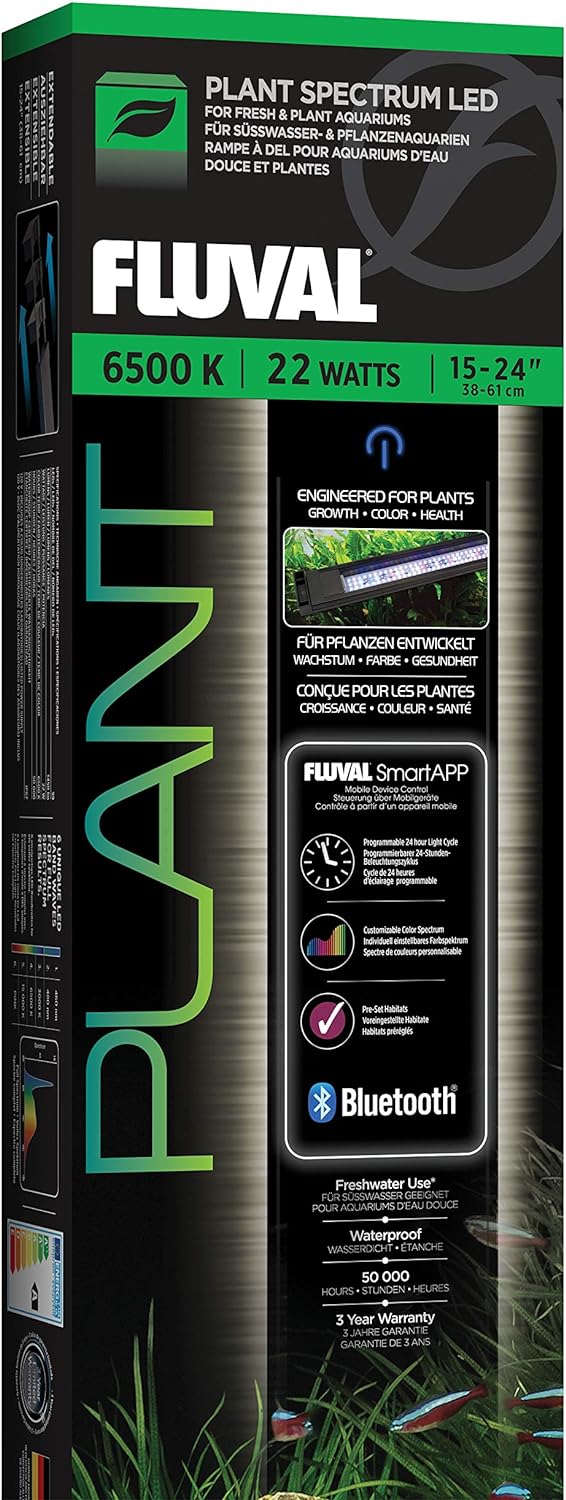
PRODUCT MENTIONED
Fluval Plant 3.0 LED, 22 W, 15–24 Inches
Amazon · Details on the retailer’s website
Adjust Fluval Plant 3.0 settings with a useful observation log
Record the date, active profile, recent maintenance and a photograph from a consistent viewpoint. Note plant identity, new growth, visible algae and any other setup changes. These observations help you ask better questions; they do not prove that the latest lighting change caused everything that followed.
Change one relevant variable at a time where practical. Simultaneously altering lighting, fertilizer, plant placement and carbon provision makes it harder to interpret a result. Choose an observation period appropriate to the plant species, tank maturity and suspected problem.
Before increasing brightness because the aquarium looks dim, check the existing profile and inspect the lens for deposits. Fluval specifically identifies mineral or algae accumulation as a possible obstruction. Follow the fixture’s electrical and cleaning instructions, disconnect it as directed and avoid improvising a cleaning method from another light’s waterproof rating.
A slider is not a PAR measurement. If a care decision depends on light reaching a particular plant position, obtain suitable measurement or qualified guidance for that location. Published manufacturer readings describe the stated test conditions; they are not measurements through your lid, water and canopy.
Recheck timing after power loss or a clock change
The older Plant 3.0 FAQ says Auto and Pro modes restart their clock at midnight after a power interruption and need a mobile connection to restore the current time. The current FluvalConnect FAQ likewise describes this behavior for first-generation Bluetooth LEDs. A light turning on again does not establish that its schedule is synchronized.
Reconnect, confirm the current time, inspect the active profile and check the next intended transition. Include daylight-saving changes in that routine. Automatic time recovery described for an Aquasky 3.0 in Wi-Fi mode should not be assigned to the Plant 3.0.
If the behavior still differs from the saved schedule, record the app, phone operating system, fixture model, mode and observed times for Fluval support. Check whether an external timer is interrupting power. Keep screenshots of the current profile before performing resets or replacing a working light.
Frequently asked questions
Are there universal Fluval Plant 3.0 settings for a low-tech tank?
No universal channel percentages were verified. Plant requirements, depth, shading, nutrients and carbon provision differ. Use an identifiable baseline, save the profile and observe the aquarium. A preset can be a configurable starting tool, but it is not evidence of an algae-free outcome.
Does FluvalConnect add Wi-Fi to Plant 3.0?
No. Fluval documents older-light support through a first-generation Bluetooth section. Instructions for Wi-Fi-equipped newer fixtures do not change the selected Plant 3.0’s hardware. Confirm the actual model and use the controls offered for that device type.
Do I need to buy another light to fix a schedule problem?
First verify the clock, active mode, saved profile and any external timer. If the fixture is otherwise working, a timing problem does not by itself establish a need for replacement. Match any purchasing decision to the unresolved requirement and seek manufacturer support where needed.
Keep a profile you can verify
Useful Fluval Plant 3.0 settings are documented, saved and checked against the actual aquarium. Confirm the fixture and app path, read the whole day, observe changes and reconnect after power interruptions. Browse the pet care article library for further equipment reading while keeping each model’s instructions separate.
If you are still assessing the hardware, view the Fluval Plant 3.0 LED, 22 W, 15–24 inches, ASIN B083QP62MP. Verify the size and power-supply labeling; this is an optional product reference, not a requirement for following the troubleshooting steps.
Comments are reviewed before they appear publicly. Please keep questions and feedback relevant to this article.